In the morning was binding a few characters skin, equipping them with weapons and painting weights on their horns, just like yesterday
 |
| $CEY to shift back the geometry to the original pivot position. But remember to delete the channel afterwards else it will conjure jerky animation. |
 |
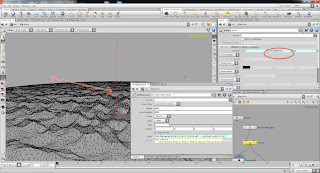
| Here's the displacement shader Mr Ron built. The displacement pattern was driven by a cellular noise node. Or alternatively, you can assign a image for the displacement map. |
 |
| The colour map used. |
The best thing was this shader renders at superb speed, incredibly fast.
I learnt some lighting techniques, by using spotlight and distantlight with solely a diffuse contribution and a specular contribution for the other to bring out the highlight. I would also have to render the specular pass to create the sparkles effect in comp, hopefully we still have time to finish.
The rendered sequence


No comments:
Post a Comment